Unlock your creative potential in Roblox by learning how to make decals Roblox. This comprehensive guide simplifies the process for busy gamers balancing life and play. Discover the exact steps to upload custom images, understand moderation guidelines, and apply unique textures to your in-game creations. Whether you are personalizing your avatar's look, designing custom game assets, or adding flair to your virtual experiences, mastering Roblox decals is a valuable skill. We will cover everything from image preparation and transparent backgrounds to navigating the Creator Hub and troubleshooting common issues, ensuring your custom designs stand out. Get ready to transform your Roblox world with unique, personalized decals, making your gaming sessions even more immersive and fun.
Q: Who can make decals on Roblox?
A: Any Roblox user with an account can make and upload decals, provided they adhere to the platform's community standards and terms of service. There are no specific membership or Robux requirements to access the basic decal upload feature, making it accessible for a wide range of creators from beginners to experienced developers. The process is integrated into the Roblox Creator Hub, allowing all active players to personalize their virtual experiences.
Q: Why would I want to make a transparent decal on Roblox?
A: Creating transparent decals opens up a world of advanced customization on Roblox. They are essential for crafting intricate overlays, custom shadows, detailed window effects, or even complex UI elements that blend seamlessly with your game environment. Transparent decals allow parts of the underlying object to show through, enabling realistic textures and dynamic visual effects that regular solid decals cannot achieve, significantly enhancing immersion and visual appeal.
Q: Where do I go to start making decals for Roblox?
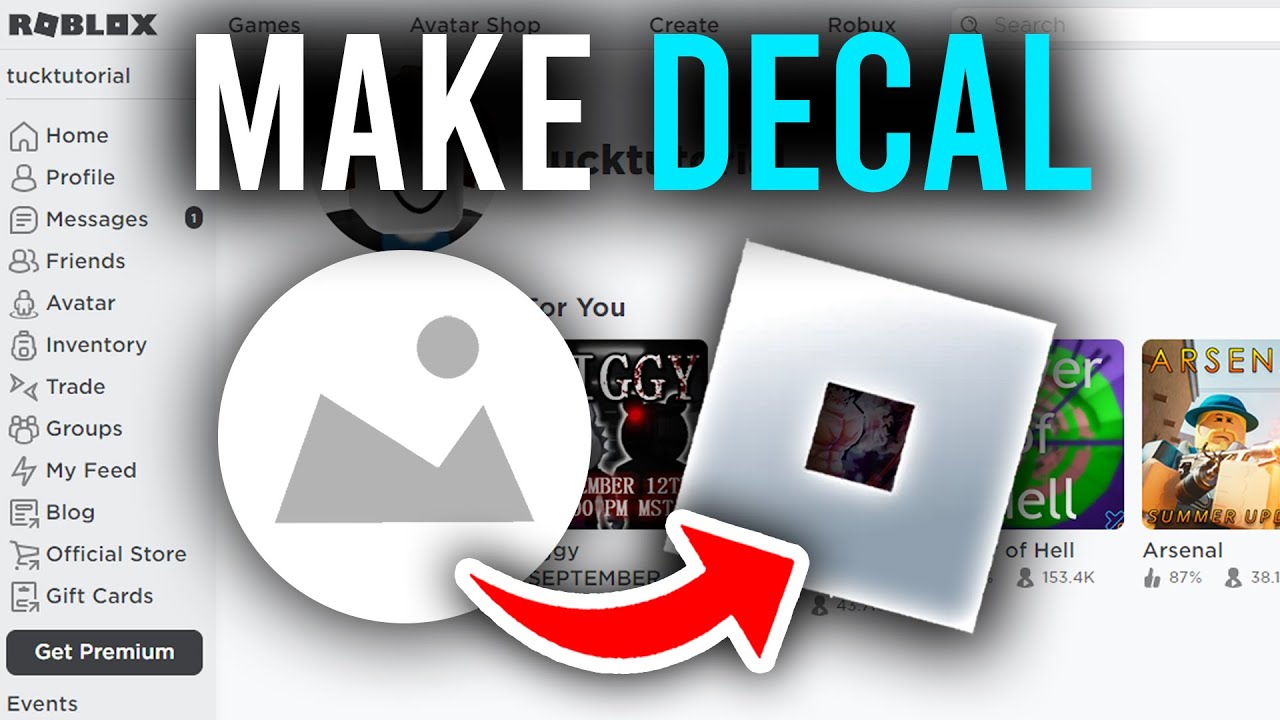
A: To begin making decals for Roblox, you first need to prepare your image using any photo editing software (like GIMP, Photoshop, or even a basic online editor). Once your image is ready, you will upload it through the "Create" section of the Roblox website. Specifically, navigate to the "Developer" or "Creations" tab and then select "Decals" from the asset types list. This is your central hub for uploading, managing, and retrieving the IDs for all your custom decals.
Q: Is it difficult to make decals for Roblox as a beginner?
A: Making basic decals for Roblox is relatively easy for beginners. The core process involves preparing an image and uploading it. The learning curve primarily comes from mastering image editing software for more complex designs, such as creating transparent backgrounds or intricate patterns. Roblox's intuitive Creator Hub simplifies the upload, making it accessible even if you are new to content creation. With a bit of practice, anyone can quickly get the hang of it.
Q: When is the best time to upload decals to Roblox?
A: The "best" time to upload decals to Roblox typically depends on when you need them. Moderation queues can sometimes be longer during peak hours or major platform events. However, generally, there isn't a universally "best" time. Focus on ensuring your image meets community standards and uploading it as soon as it's ready. If you need a decal for an upcoming event, it's always wise to upload it well in advance to account for potential moderation delays.
Q: How can I ensure my Roblox decal looks good on different surfaces?
A: To ensure your Roblox decal looks good on various surfaces, start with a high-resolution, square-dimensioned image (e.g., 512x512 pixels). Test your decal on different part materials (e.g., Plastic, Metal, SmoothPlastic) in Roblox Studio, as lighting and material properties can affect its appearance. Consider the color palette of your decal and how it contrasts or blends with common in-game environments. Sometimes, a simpler design scales better and remains clear across diverse textures.
Q: What are the size limitations for images when making Roblox decals?
A: While Roblox can process various image sizes, there are practical limits. For decals, images should generally be under 10MB in file size. As for dimensions, there isn't a strict maximum, but images that are excessively large (e.g., above 1024x1024 pixels) may be compressed or scaled down by Roblox, potentially affecting clarity. Aim for square resolutions like 512x512 or 420x420 pixels for optimal balance between detail and file efficiency, ensuring your image is crisp without being overly bulky.
Are you a dedicated Roblox player, often finding yourself juggling work, family, and your passion for virtual worlds? You are not alone. Across the US, an impressive 87% of adults game regularly, with many serious gamers dedicating 10+ hours a week to their favorite titles. For this engaged community, customization is key, offering a unique avenue for self-expression and social connection within games. But how often do you wish you could truly make your mark, personalize your creations, or just add that unique flair to your Roblox experience? That's where knowing how to make decals Roblox comes into play.
Many busy gamers like you face a common challenge: the desire to create cool, custom content without getting bogged down by complicated processes or endless troubleshooting. You want to enhance your game, build amazing things for your friends, and stand out, but time is precious. This comprehensive guide is designed for you. We will demystify the entire process of how to make decals Roblox, from preparing your images to getting them approved and integrated into your game. Imagine adding your own brand logo to a virtual store, creating unique wall art for your digital home, or customizing character outfits with intricate designs. Mastering decals is not just about making things look good; it's about unlocking a new level of creative freedom and truly owning your digital space.
In this article, we will cut through the noise, providing clear, step-by-step instructions and practical tips to ensure your decal creation journey is smooth and rewarding. You will learn about image optimization, navigating the Roblox Creator Hub, and understanding the moderation process, all tailored to help you make professional-looking decals efficiently. So, if you are ready to stop wishing and start creating, let's dive into how to make decals Roblox and elevate your gaming experience.
What are Roblox Decals and Why Do Gamers Use Them?
Roblox decals are essentially custom 2D images or textures that users can upload to the Roblox platform and then apply to parts, surfaces, or even avatars within their games. Think of them as digital stickers that can transform the appearance of any object. Gamers primarily use decals for boundless customization. This includes decorating builds with unique textures, creating custom signs, adding intricate details to models, personalizing game UIs, or even developing branded content for virtual businesses. Decals are fundamental to making games feel unique, immersive, and truly reflective of a creator's vision. They allow for a level of detail and personalization that stock assets simply cannot provide, crucial for engaging players in the diverse Roblox metaverse.
How Do I Prepare My Image for a Roblox Decal?
Proper image preparation is the first critical step in how to make decals Roblox. You will need an image editor like Photoshop, GIMP, or even free online tools. Ensure your image is clean, high-resolution, and appropriately sized. A common recommendation is to use square dimensions, such as 512x512 pixels or 420x420 pixels, as Roblox often resizes images, and square formats tend to scale better. For decals that require transparency, save your image as a PNG file with a transparent background. JPEG files do not support transparency. Cropping any unnecessary edges and ensuring your image content adheres to Roblox's community standards are also vital pre-upload checks.
What are the Steps to Upload a Decal to Roblox?
Uploading a decal to Roblox is a straightforward process once your image is prepared. Here are the steps:
- Go to the official Roblox website and log in to your account.
- Navigate to the "Create" section, usually found at the top of the page.
- In the Creator Hub, select "Decals" from the left-hand menu under "Develop" or "Creations."
- Click on the "Choose File" button to select your prepared image from your computer.
- Give your decal a clear, descriptive name. This helps with organization and moderation.
- Click the "Upload" button.
After uploading, your decal will enter a moderation queue. Roblox employs automatic and human moderation to ensure all uploaded content complies with their strict community guidelines, which is essential for maintaining a safe platform for players of all ages.
How Does Roblox Moderation Affect Decals?
Roblox's moderation system is robust and directly impacts how to make decals Roblox successfully. Every decal you upload is subject to review before it becomes publicly available or usable in your experiences. This process checks for inappropriate content, copyrighted material, personal information, or anything that violates Roblox's Terms of Service. If a decal is deemed inappropriate, it will be rejected, and you may receive a warning or even a temporary ban for repeated offenses. Moderation times can vary, from a few minutes to several hours, depending on system load and complexity of the image. Always double-check your images for compliance to avoid delays and ensure your creative work sees the light of day.
Where Can I Find My Uploaded Decal ID on Roblox?
Once your decal has been successfully uploaded and approved by Roblox moderation, finding its unique ID is simple. This ID is crucial for applying the decal in Roblox Studio or sharing it with others.
- Go back to the "Create" page on the Roblox website.
- Select "Decals" from the creations menu.
- You will see a list of your uploaded and approved decals.
- Click on the name or thumbnail of the decal you wish to use.
- The URL in your browser's address bar will change. The Decal ID is the string of numbers in that URL. For example, in
https://www.roblox.com/library/123456789/My-Awesome-Decal, "123456789" is your Decal ID.
Copy this ID, and you are ready to integrate your decal into your Roblox creations.
How Do I Apply Decals to My Creations in Roblox Studio?
Applying your custom decals in Roblox Studio is where your creative vision truly comes to life. Here’s how to do it:
- Open Roblox Studio and load the experience you want to edit.
- In the Workspace, select the part or surface you wish to apply the decal to.
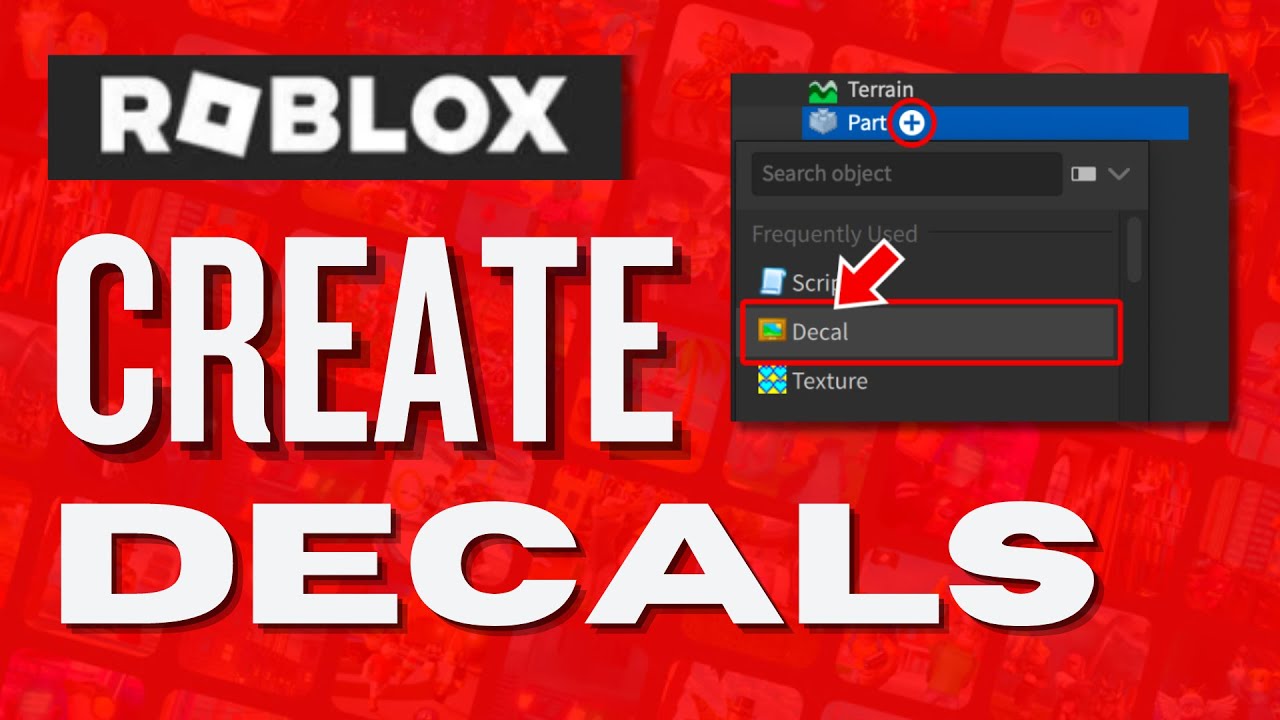
- In the "Explorer" window, right-click on the selected part, hover over "Insert Object," and search for "Decal" or "Texture." Choose "Decal."
- With the Decal object selected in the "Explorer" window, go to the "Properties" window.
- Find the "Texture" property. In the input box next to it, paste your Decal ID (the string of numbers you copied earlier).
- Press Enter. Your custom decal should now appear on the selected part.
You can also adjust the "Face" property of the Decal object to control which side of the part the decal appears on.
Can I Make Transparent Decals on Roblox?
Yes, absolutely! Making transparent decals on Roblox is a highly sought-after skill for advanced customization, enabling effects like custom shadows, intricate overlays, or unique holographic elements. To achieve transparency, you must save your image as a PNG file with a transparent background from your image editing software. JPEG files do not support transparency, so if you upload a JPEG with what looks like a transparent background, it will likely render as a solid white or black background in Roblox. Always double-check your image editor's settings to ensure true alpha channel transparency is preserved when saving the PNG, ensuring a professional and seamless integration into your Roblox creations.
What Are Common Decal Issues and How Can I Fix Them?
Even seasoned creators encounter issues when learning how to make decals Roblox. Here are some common problems and their solutions:
- Decal Rejected/Moderated: Review Roblox's Community Standards. The image might contain inappropriate content, copyrighted material, or personal information. Edit the image or create a new one that complies.
- Decal Shows Up as Blank/White Square: This often means the decal is still in moderation or was rejected. Check your "Decals" page on the Roblox Creator Hub for its status. It could also mean a broken ID link.
- Image Quality is Poor/Pixelated: Ensure your original image is high-resolution before uploading. Roblox can scale images down, but starting with a crisp image yields better results.
- Transparency Not Working: Confirm your image is saved as a PNG with a true alpha channel (transparent background). JPEGs will not work for transparency.
- Decal Not Appearing on Part: Double-check that you've correctly entered the Decal ID into the "Texture" property of the Decal object in Roblox Studio. Also, ensure the "Face" property is set to the correct side of the part.
Patience and careful adherence to guidelines are key to resolving most decal-related problems.
Tips for Maximizing Your Roblox Decal Creativity
To truly master how to make decals Roblox and make your experiences shine, consider these creative tips. First, plan your designs carefully, sketching ideas before diving into editing software. Use vector graphics tools for logos or crisp lines to ensure scalability without pixelation. Explore different image layering techniques to create complex textures or overlays. Don't be afraid to experiment with color gradients and subtle transparency effects to add depth. Utilize reference images from the real world or other games for inspiration, then adapt them to suit the Roblox aesthetic. Lastly, remember that simple, clean designs are often the most effective, especially when viewed on various screen sizes, from mobile devices (where over 60% of US gamers play Roblox) to large PC monitors.
How Do Decals Contribute to the Roblox Creator Economy?
Decals are more than just cosmetic; they are a vital component of the vibrant Roblox Creator Economy. Creators can use unique decals to brand their games, making them instantly recognizable and professional, which attracts more players. For developers who offer in-game purchases, custom decals can be part of exclusive content packs or paid customization options, driving revenue. Some talented artists even create and sell textures or decal packs for other developers to use, contributing directly to a micro-economy within the platform. By enhancing the visual quality and uniqueness of experiences, decals indirectly boost engagement and monetization, proving their critical role in a platform where creativity often translates into economic opportunity.
Conclusion
Mastering how to make decals Roblox is a fantastic skill that unlocks immense creative potential, allowing you to personalize your gaming experiences and stand out in the vast metaverse. We have covered everything from image preparation and the upload process to understanding moderation and applying your designs in Roblox Studio. For busy gamers balancing daily life with their passion, these practical steps mean less frustration and more time enjoying your unique creations. Remember, whether you're building a new game, customizing an avatar, or just adding a personal touch, decals are your digital canvas.
What's your biggest gaming challenge when it comes to customization or creating content? Comment below!
Frequently Asked Questions about Roblox Decals
Is it free to make decals on Roblox?
Yes, uploading decals to Roblox is generally free. However, if you are looking to monetize your creations or upload an exceptionally high volume of assets, there might be specific developer program considerations or Robux costs associated with certain advanced features or bulk uploads. For standard personal use, the basic decal upload process remains free for all users.
What image file types does Roblox support for decals?
Roblox primarily supports PNG and JPG file types for decals. For images requiring transparency, PNG is essential as it preserves the alpha channel. JPGs are suitable for solid images without transparency requirements, but generally, PNG offers better quality and versatility for decal creation.
Can I use copyrighted images for Roblox decals?
No, you absolutely should not use copyrighted images for Roblox decals without explicit permission from the copyright holder. Doing so violates Roblox's Terms of Service and can lead to your decal being rejected, your account receiving a warning, or even a ban. Always use original images or those for which you have the appropriate licenses.
How long does Roblox decal moderation take?
Roblox decal moderation times can vary significantly. Simple, clearly compliant images might be approved within minutes, while more complex or ambiguous content could take several hours, or even longer during peak times. The system uses both automated checks and human reviewers to ensure community safety.
What is the best size for a Roblox decal?
While Roblox can resize images, a common and recommended best practice is to use square dimensions like 512x512 pixels or 420x420 pixels. This ensures optimal clarity and scaling across various platforms and devices within the Roblox environment. Higher resolution images generally retain more detail even after Roblox's compression.
Can I delete an uploaded decal from Roblox?
Yes, you can archive or delete an uploaded decal from your Roblox Creator Hub. Navigate to your "Decals" section, select the decal you wish to remove, and look for an option to archive or delete it. This removes it from public view and prevents it from being used in new creations.
Easy decal creation steps, image preparation tips, Roblox Creator Hub navigation, understanding moderation, applying decals in-game, troubleshooting common issues, enhancing game personalization.
35


How To Make Decals In Roblox 2026 YouTube . How To Make Decals In Roblox Full Guide YouTube . How To Create Decals In Roblox Easy Method 2024 YouTube . How To Make Decals In Roblox YouTube . How To Make A Decal On Roblox Roblox Create Decals YouTube


How To Make Decals In Roblox YouTube . How To Add Decals Images To Parts In Roblox Studio YouTube . How To Create Decals In Roblox YouTube . How To Make Decals In Roblox YouTube . How To Make Decals In Roblox Full Guide YouTube


How To Make Decals In Roblox Full Guide YouTube . How To Make DECALS In The Chosen One Roblox 2026 YouTube . How To Make And Upload Decals In Roblox Mobile Or PC Roblox Studio . How To Make A Decal In Roblox Full Guide YouTube . How To Create Decals In Roblox Easy And Simple YouTube


How To Make Decals In Roblox Quick Tutorial YouTube . How To Make Decals In Roblox For Beginners YouTube . How To Make Decals In Roblox Full Tutorial YouTube . How To Use Decals In Roblox Screenshot 72 300x232 . How To Make Decals In Roblox Step By Step Guide YouTube


How To Make A Decal Roblox Tutorial YouTube . How To Create Decals Using Roblox Mobile Quick Easy YouTube . How To Make A Decal In Roblox Full Guide YouTube . How To Use Decals In Roblox Screenshot 62 1 1 562x320 . How To Make A Roblox Decal Face YouTube


How To Make Your Own DECAL In ROBLOX YouTube . How To Create A Decal In Roblox 2020 Roblox Tutorial YouTube . How To Make Decals In Roblox Full Guide YouTube . How To EASILY Make ROBLOX DECALS For FREE 2022 Tutorial Kosii . HOW TO MAKE DECALS ON ROBLOX YouTube


How To Make Decals In Roblox Full Tutorial YouTube . How To Make Decals In Roblox YouTube . How To Make Decals In Roblox YouTube . HOW TO CREATE YOUR OWN DECALS IN ROBLOX Roblox Tutorial YouTube Hqdefault . Roblox How To Make Your Own DECAL Bloxburg Decals YouTube